I hit the jackpot when it comes to a husband because Chris is unbelievably patient, understanding, and so easy going. They say you’re supposed to marry your best friend, and I truly did. Planning our wedding didn’t ever feel stressful or overwhelming because we were planning it together. We made sure that open, candid conversations happened often about the things that were most important to each of us when it came to our wedding, and if budget allowed, we made it happen!
Honestly, not once did we argue or disagree on ANY of the wedding plans (crazy, right?! I’m sure some of you are rolling your eyes right now, but… sorry, not sorry. I speak the truth!) We definitely talked through things, and we didn’t let the inevitable wedding planning stress take away from focusing on the beautiful wedding we were planning (aka the BIGGEST, and BEST PARTY we’d EVER plan), and the ultimate reason that we were having a wedding…
TO BE MARRIED!
There is honestly SUCH a long laundry list of things to check off of your wedding planning list, so I’ll let the timeline that I’ll discuss below help you with that 🙂 I compiled a very broad list of topics below, and I added in my additional tips, ideas, or processed that made planning SO much easier!

Alright, let’s dive in, y’all!

I bought the holy grail of wedding planning, found here! My favorite thing about it is that is has a detailed timeline broken down by months and weeks to make sure we were a) on the right track and b) not missing or forgetting anything. I’m an avid list-maker, so this checklist set my mind at ease and was my actual roadmap for our wedding.
Although I didn’t use all of the sections in the binder, this is a wonderful resource for getting organized and ensuring nothing is looked over or forgotten!
TIP: When the timeline says 12+ months, 6 months, 2 months before, etc., write in the actual months that match up with your wedding date timeline so you don’t have to do math or guess backwards 🙂

There are several ways to allocate your spending for the wedding! We chose this breakdown, and loosely followed it, but this was a great place to start:
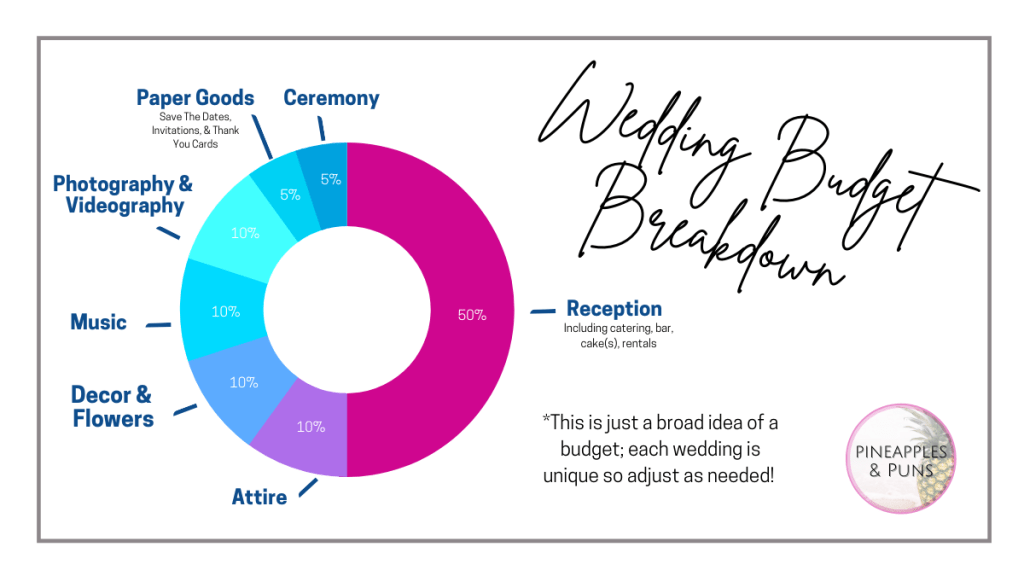
Create a budget and STICK to it! I used Excel to track every dollar spent, ensuring that I knew where every dollar was allocated.

These days, venues are booked months and even years in advance, so the second you have a date picked out, start looking up venues in your area! If you don’t have an exact date picked out, this could actually work in your favor because your chances increase on getting the venue you’d like rather than being limited to one specific date.

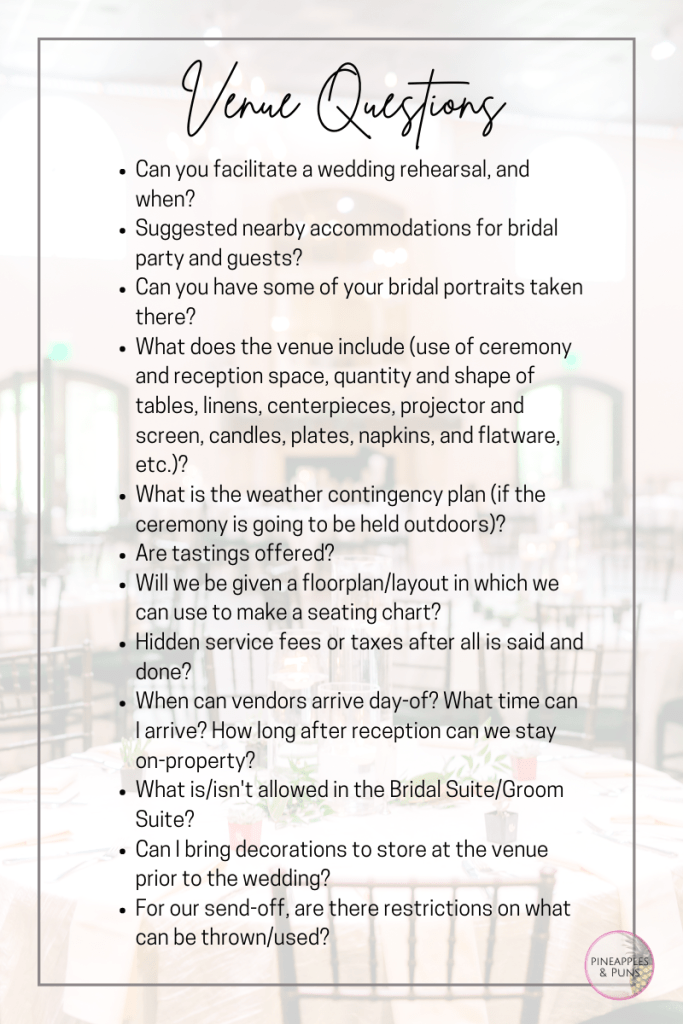
Also, ask ALL of the questions, and don’t hold back. You’re spending a pretty penny on this venue, and you deserve to have your questions answered so you can rest assured that everything will be handled smoothly. Here’s some FAQs to get you started:
(The county in which we got married didn’t allow sparklers or anything like rice, glitter, confetti or crepe paper, so we “cheated the system by using biodegradable “confetti” that looked like snow called Ecofetti – Check it out here!)

TIP: Start an Excel document and list all of the venues in which you’re interested, and document when you’ve contacted them, the availability, pros and cons, etc. I’ve attached a template that I created and utilized religiously during the planning process.

Once you have that OFFICIAL date, book all of the vendors that you’ll want involved in your wedding planning and wedding day! Their schedules fill-up quickly, so make sure this is one of the first things you do once you’ve secured your date!
theknot.com is a great online resource for finding vendors, and reading reviews from real couples is very beneficial. Ask for referrals on Facebook, too! A lot of your friends and family will be happy to recommend their favorite vendors and companies!
Note: All of our besties (aka our vendors) will get a shoutout in my blog post with ALLLL of the fun details from our wedding!

Discuss shooting locations with your photographer, as well as time of day in which you’d like to take the photos (AM or PM). The ideal time for a photoshoot is “golden hour” which is the first hour after sunrise, and the last hour of light before sunset. It produces a warm natural light, and it makes your images look stunning without direct, harsh light.
For locations, decide what kind of look you’d like for your photos – Nature, urban, elegant, or a combination of any of these – and base your locations based on what you’re wanting! Your photographer is the expert, so let them help with this, too!
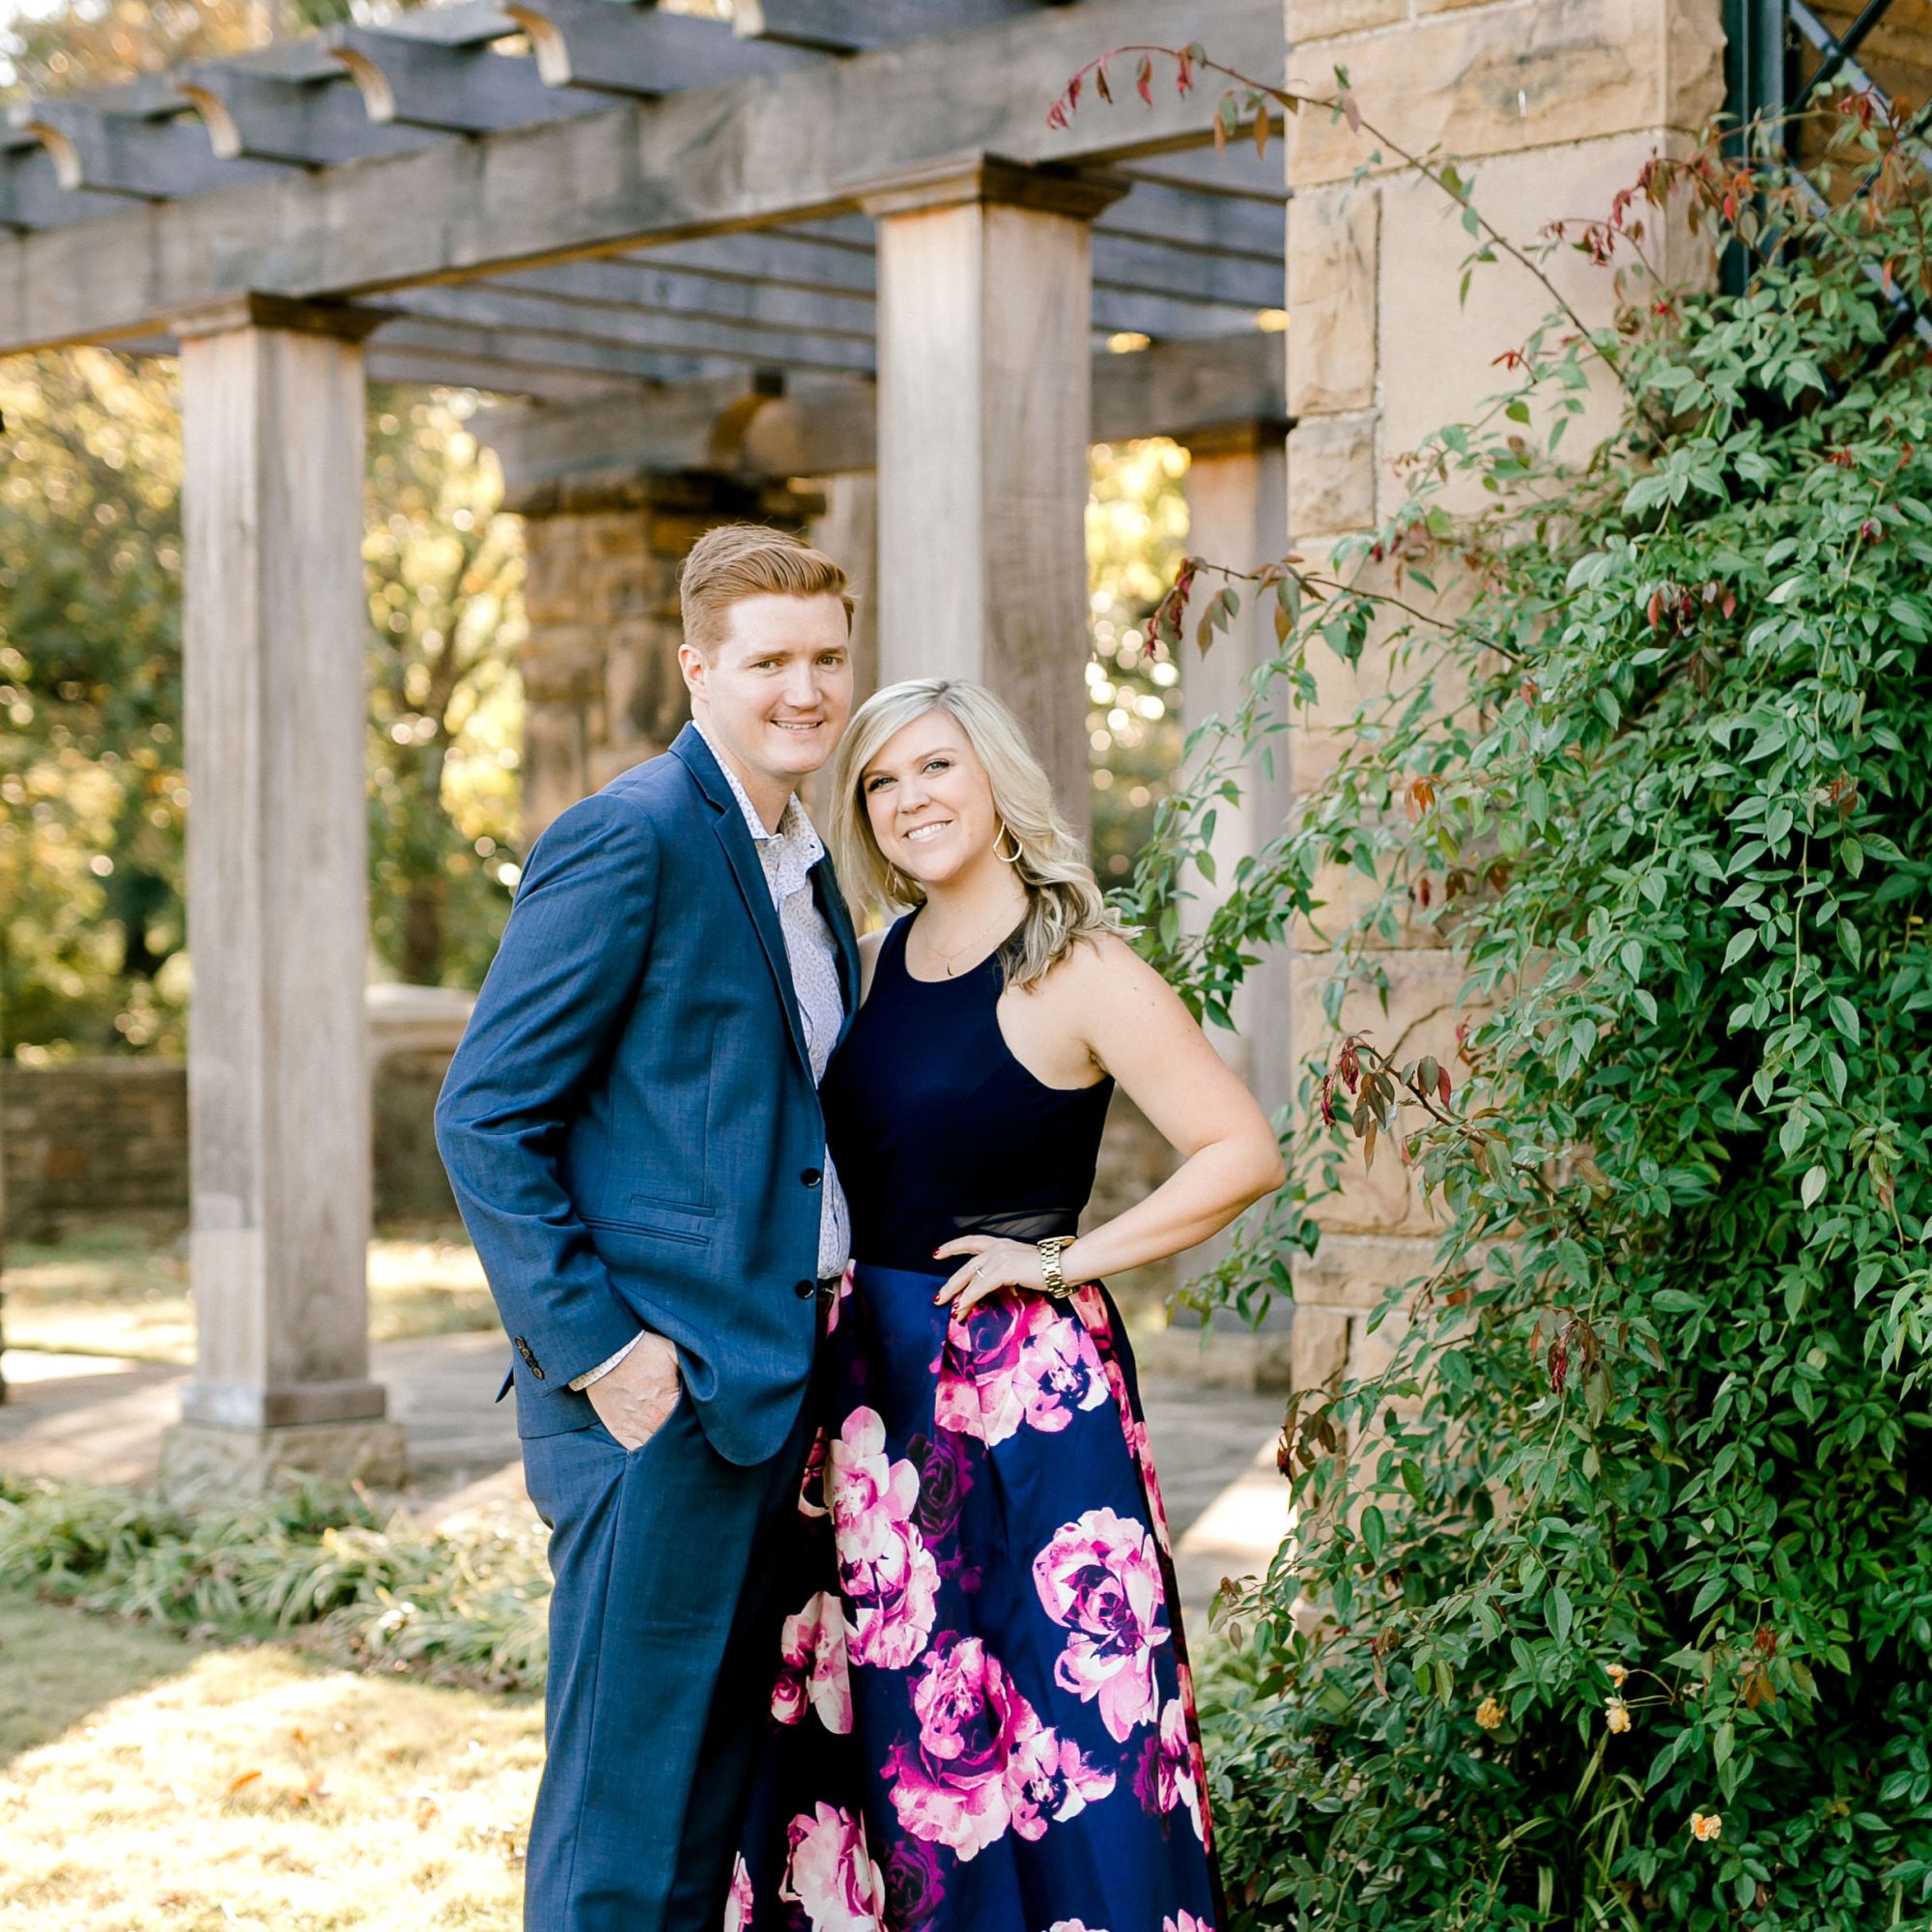
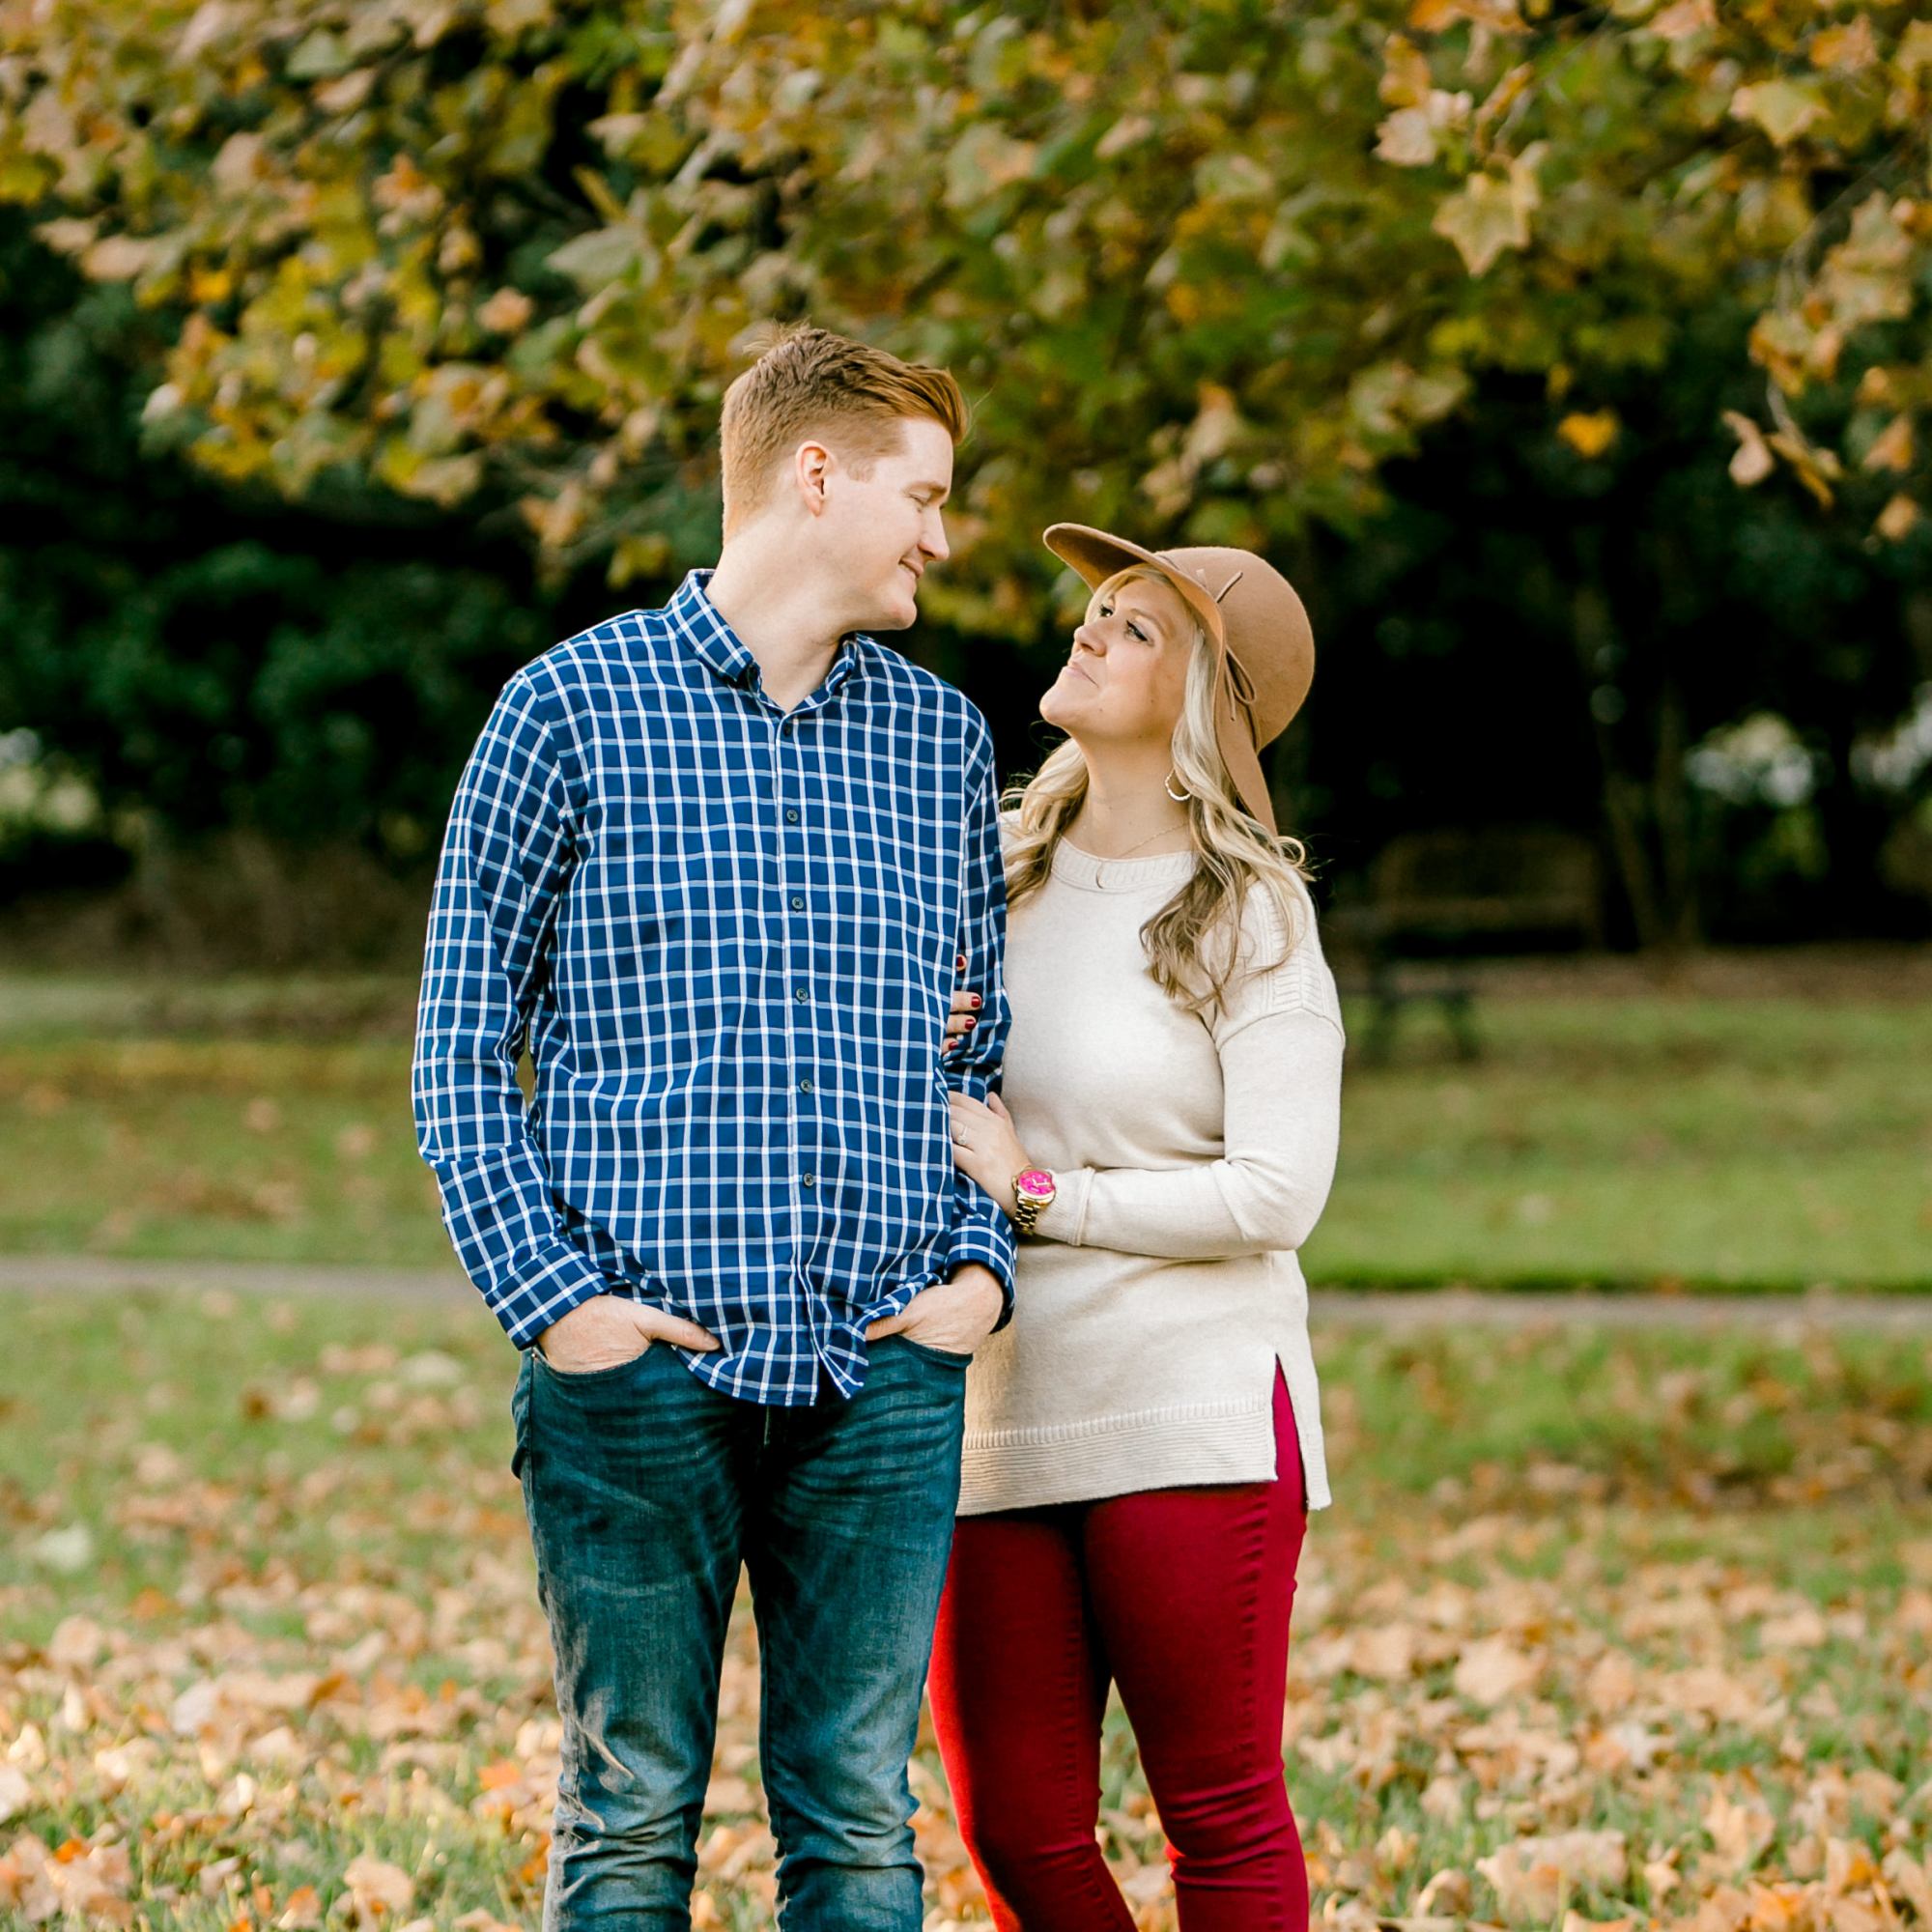
TIP: Have at least two different outfits if your session allows for outfit changes (ones that you can stand AND sit down in comfortably). Chris and I chose one casual look, a dressy casual look, and a formal look so there was good variety in our photos. We also chose a color palette that was not only sold colors, but fairly neutral and timeless, so we didn’t have an overly “seasonal” look to our photos. (We didn’t want to have an overly fall-ish look because these photos will be displayed in our home year-round.) Accessories and props like blankets, hats, signs, chairs, etc. add a personal, fun touch to the photo session.
Here are some shots showing the different outfits as well as the different locations – These were shot at the Fort Worth Botanic Garden, and Sundance Square in Downtown Fort Worth!


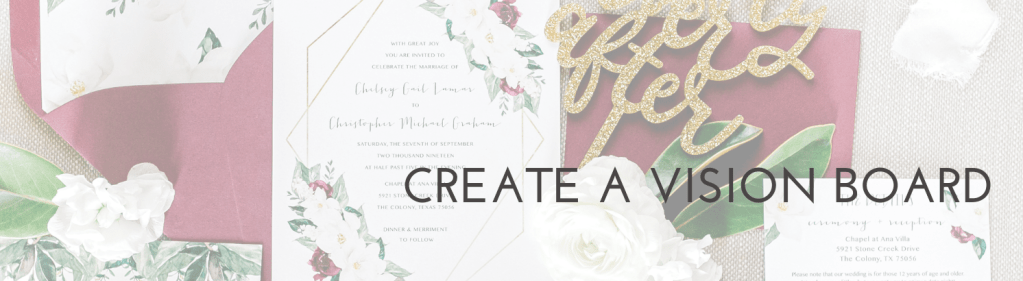
We’re so lucky to have a resource like Pinterest to look through and gather wedding ideas! I gathered a large majority of my wedding ideas from Pinterest, and printed out a bunch of photos and made a vision board for wedding colors, cake designs, decor ideas, and floral arrangements. I’m such a visual person that I wanted to physically see my vision come to life, and this made the wedding planning that much more exciting and real once it was all laid out in front of me!
Tip: DO NOT get discouraged when all of the wedding photos you see on Pinterest look PERFECT; so many of them are heavily photoshopped or edited… For instance, our venue had GIANT magnolia trees on the other side of the chapel windows, which served as a grand backdrop for our wedding ceremony, so I wanted to incorporate magnolias into our flower arrangements (they looked GORGEOUS on Pinterest). However, our florist said that the magnolias would only wilt and turn brown prior to the ceremony’s start, and she said that the “pretty Magnolias you see in photos are photoshopped to appear pristine and white.” So, we opted for magnolia leaves and white playa roses which stayed snow white all evening.
(Check out my “Four Weddings” TLC show-inspired pose with my bouquet below, hahaha)


Just do it. It’s a daunting task, but open up a notebook or an Excel workbook, and create the following categories:
| Family | List them ALL, down the second cousins you see only at the family reunion. |
| Close Friends | These are the people you see or speak to on a regular basis, or are significant in your life. |
| Professional Friends | Coworkers, clients-turned-friends, mentors, or other people who are significant to your professional life. |
| Significant Relationships | The people who remain significant in your life, and can include friends from childhood, college, sports organizations, or any other group in your life that was meaningful. |
You and your future spouse should create your own lists that will be combined into one at the end. Take notes on the number of people associated with each name, including spouses, significant others, and children (if you are considering a child-friendly wedding).
If appropriate, have your parents also prepare a list to avoid last-minute invitation requests.
Finally, give each guest on the list a priority of A, B, or C.
A – Close family and friends that must be at the ceremony.
B – Additional friends, extended family, and professional friends that you are planning to invite.
C – Guests that would be nice to have at your wedding if your budget allows.
TIP: I wish I could shout this information out from the mountaintop, so this will have to do in the meantime. Postable.com was the BEST and easiest way to obtain and organize everyone’s address… and it’s FREE! I simply sent friends and family my customized link, and they entered in their information onto the website form, OR I manually entered in information for those not as computer-savvy. From there, you are able to export the list in Excel, and create a guest list with ease, which is helpful for Thank You cards after the wedding.
Message me for my wedding guest template that I created after all of the addresses were in! 😉
There’s honestly SO much that goes into planning a wedding, and as much as I’d like to document every single part of our wedding planning, I kept it to the most important parts, in my opinion.
So, what’s next?
I’ll dive into details about:
- The parts that made our wedding unique; the flowers, cake, THE dress, etc. with shoutouts to our incredible vendors!
- Wedding events – Bridal Showers and our Rehearsal Dinner
- Our honeymoon!!
- What we’re glad we splurged on, and what we would have changed
- And MORE!
Stay tuned! Until next time,


This is a wonderful guide for brides! You should have been a wedding planner!! I am not surprised with your marketing skills that this is a wonderful tool and so personalized. Great job and so useful plus beautiful!!
LikeLike
Aww thank you so so much Susan!! I appreciate that!
LikeLike